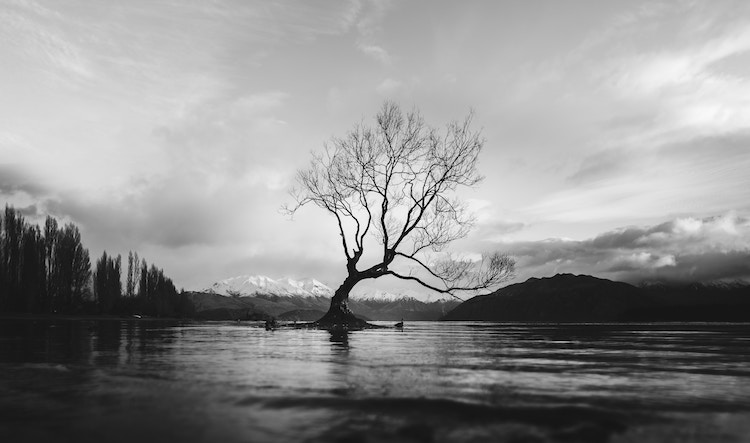
Come on! Admit it. Most of us have never touched a piece of photographic film. I guess that statement is mostly true- if you’re under the age of 35. Those of us over the age of 35 likely haven’t touched any film in close to two decades.
We all know the roots of photography lies in the black and white photograph. Think of the newspaper photographers of the 1950s with their gigantic press cameras and flashbulbs. Or, even go further back, and you have the portraitist photographer of the 1800s, who used 100-pound cameras, and dangerous flash powder, to expose the image.
In days gone by, the black and white photographer had to use a special film, special chemicals, and a rinse-wash-dry cycle in two separate phases: the process took at least hours and sometimes days.
What is a primary advantage of taking a black and white photo in the digital age?
“Time!” Today, you can quite literally take a black and white photograph, edit it, and display it publically around the world in a matter of seconds.
The methodical method of film- required craftsmanship, and that, more often than not, led to superior quality.
It’s so easy to bang out a b&w image today that one really has to ‘want’ quality- to give it the time and consideration that it needs.
With that in mind- What about taking a black and white photo in the digital age?
What can we do to give our digital black and white photography superior quality?

Here’s How to Achieve Superior Quality in Digital B&W
1. Slow down. Think about the process and the medium. Superb black and white imaging takes a different mindset than color photography.
2. Keep that ISO setting low. Photographers sometimes debate that digital noise is a creative effect in black and white photography- much like ‘grain’ was in the film days. That idea really doesn’t hold up, and here’s why. The grain structure of film occurred across the entire tonal range of the final print. Noise gets picky about where it wants to show up: and that is typically ‘only’ in the shadow end of the histogram scale. It’s this randomness that makes digital noise look more like a mistake versus the creative effect of film grain.
3. Don’t burn out your highlights or block up your shadows. It is so easy to let that happen, not just in the shooting phase, but even more so in the post-processing phase. Always be thinking- if my eyes can see it, how can I make it show up in my black and white photo? And then, post-process accordingly.
4. Along that same thinking, you should definitely take advantage of the camera raw format. Even some mobile phone cameras are shooting in the raw format these days. Why is the camera raw format so important? In order to understand the reason why, you have to know about dynamic range. Dynamic range is the ability to reproduce “a range of tone and brightness values from shadow to highlight”. For most of the digital age, the dynamic range of digital cameras was far less than that of black and white negative film. That is improving. Camera raw offers you the widest dynamic range from your digital image file. In that aspect, among others, it’s superior to the .jpeg format.
5. Become a student of tone. Black and white imaging is about turning colors into shades of gray. Film photographers had to develop a skill that allowed them to recognize how a color would convert to a shade of gray at the point of taking the picture. In the digital age, most of us are creating our images in color, and only later in the post-processing phase, giving some consideration as to how the colors will convert to tone if we make it into a black and white photo. Your quality of black and white photography will improve, and you will be creating better work than your fellow photographers, if you start thinking about the conversion process early on – while you are taking the photograph.
Source: https://www.exposureguide.com/